
6 Tips for Creating a Functional and Stylish Kitchen Island
Is your kitchen counter constantly cluttered? A kitchen island seems like the perfect solution, but the wrong one can create more problems than it solves. Here’s how to guarantee your island becomes the hardworking hero of your home, not a clumsy obstacle.
Tip 1: Prioritize Function and Flow
Think of the space around your island as a hallway—it needs to be wide enough for traffic. To prevent kitchen traffic jams, designers recommend a “Clearance Zone” of at least 36 to 42 inches between the island and other counters. This is the most critical guideline, ensuring you can open an oven door and still walk past comfortably.
Before you fall in love with a style, decide on the island’s primary job: is it for prep, seating, or storage? Once you know its purpose, grab painter’s tape and outline its shape on the floor. This simple trick lets you feel the space before committing a single dollar.
Tip 2: Plan for Smarter Storage, Not Just More Space
An island adds real estate, but its value comes from how you use it. While standard cabinets are common, consider prioritizing deep drawers instead. With drawers, you can see every pot and pan from above—no more kneeling to search a dark cupboard for a lost lid. This switch makes accessing daily tools much easier.
A great island also solves a specific problem. A popular and functional feature is a dedicated pull-out for trash and recycling. This keeps bins hidden yet accessible, freeing up floor space and containing odors. Other smart solutions include vertical dividers for baking sheets or a narrow pull-out spice rack near your prep zone.
Open shelving can look stunning and make your kitchen feel airy, offering a spot for cookbooks or serving bowls. The trade-off is that it demands tidiness. If you’d rather hide occasional clutter, closed doors and drawers are the more practical choice.
Tip 3: Will Your Island Have a Sink or Power?
Adding plumbing or wiring is a major decision that turns your island into a workstation but also significantly raises the cost. You’ll need licensed pros, which can add thousands to the budget, so weigh the cost against the daily convenience.
A small “prep sink” can be a fantastic addition for a busy home cook, creating a compact zone for washing vegetables. The trade-off is that an island sink can become a magnet for clutter right in the center of your kitchen. Before committing, ask yourself if you’ll enjoy the convenience more than you’ll dislike seeing a few dishes there.
An electrical outlet, however, is a high-value feature most everyone should consider. For a relatively low cost, an outlet transforms your island into a flexible surface where you can use a stand mixer, charge a laptop, or let guests power their phones.
Tip 4: Create Comfortable Seating
An island can be a perfect spot for casual meals or homework, but only if the seating is comfortable. The key is planning for personal space. As a rule of thumb, allow about 24 inches of width for each seat. If you’re picturing seating for four, you’ll need about 8 feet of counter length for the seating area.
To avoid cramped knees, ensure the countertop has a sufficient overhang. For a standard counter-height island, aim for 12 to 15 inches of depth to provide comfortable leg space.
Finally, match your stools to your island’s height. Most islands are “counter-height” (36 inches tall), while some are taller “bar-height” (42 inches tall).
- Counter-Height Island (36” tall): Use a Counter Stool (~24” high seat).
- Bar-Height Island (42” tall): Use a Bar Stool (~30” high seat).
Tip 5: Pick a Countertop That Fits Your Lifestyle
The best countertop for your island depends on your lifestyle, not just trends. Will you have kids spilling juice, or are you a passionate cook who needs a durable prep space? Your answer will point you to the perfect material.
For busy families, engineered quartz is often the champion. It naturally resists stains from wine, coffee, or juice. Unlike granite, it’s non-porous and never needs sealing. The only caution is to always use a trivet for hot pans.
If you’re an avid cook, natural granite is a fantastic workhorse. It’s famously durable and heat-resistant, so you can set down a hot pot without panic. However, as a porous stone, it must be sealed annually to protect it from stains.
A butcher block countertop offers a warm, inviting look and is a dream for bakers. It provides a great surface for kneading dough and prep work, but wood requires regular oiling to prevent it from drying out and quick cleanups to avoid water damage.
Tip 6: Add Personality with Lighting and Color
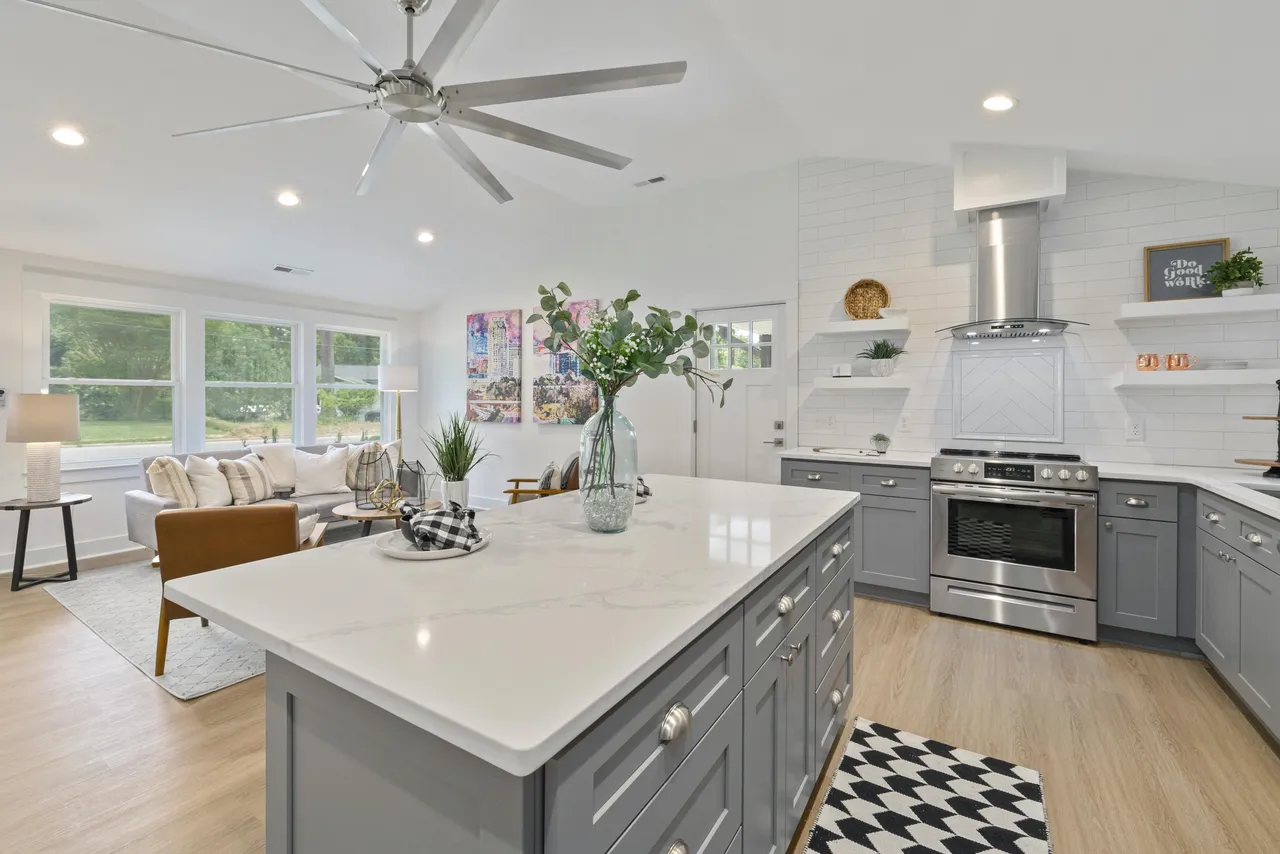
With the functional pieces in place, it’s time to add personality. The right lighting over your island is essential for tasks like chopping vegetables. A good rule of thumb is to hang pendant fixtures 30 to 36 inches above the countertop. This provides excellent light without blocking the view across the kitchen.
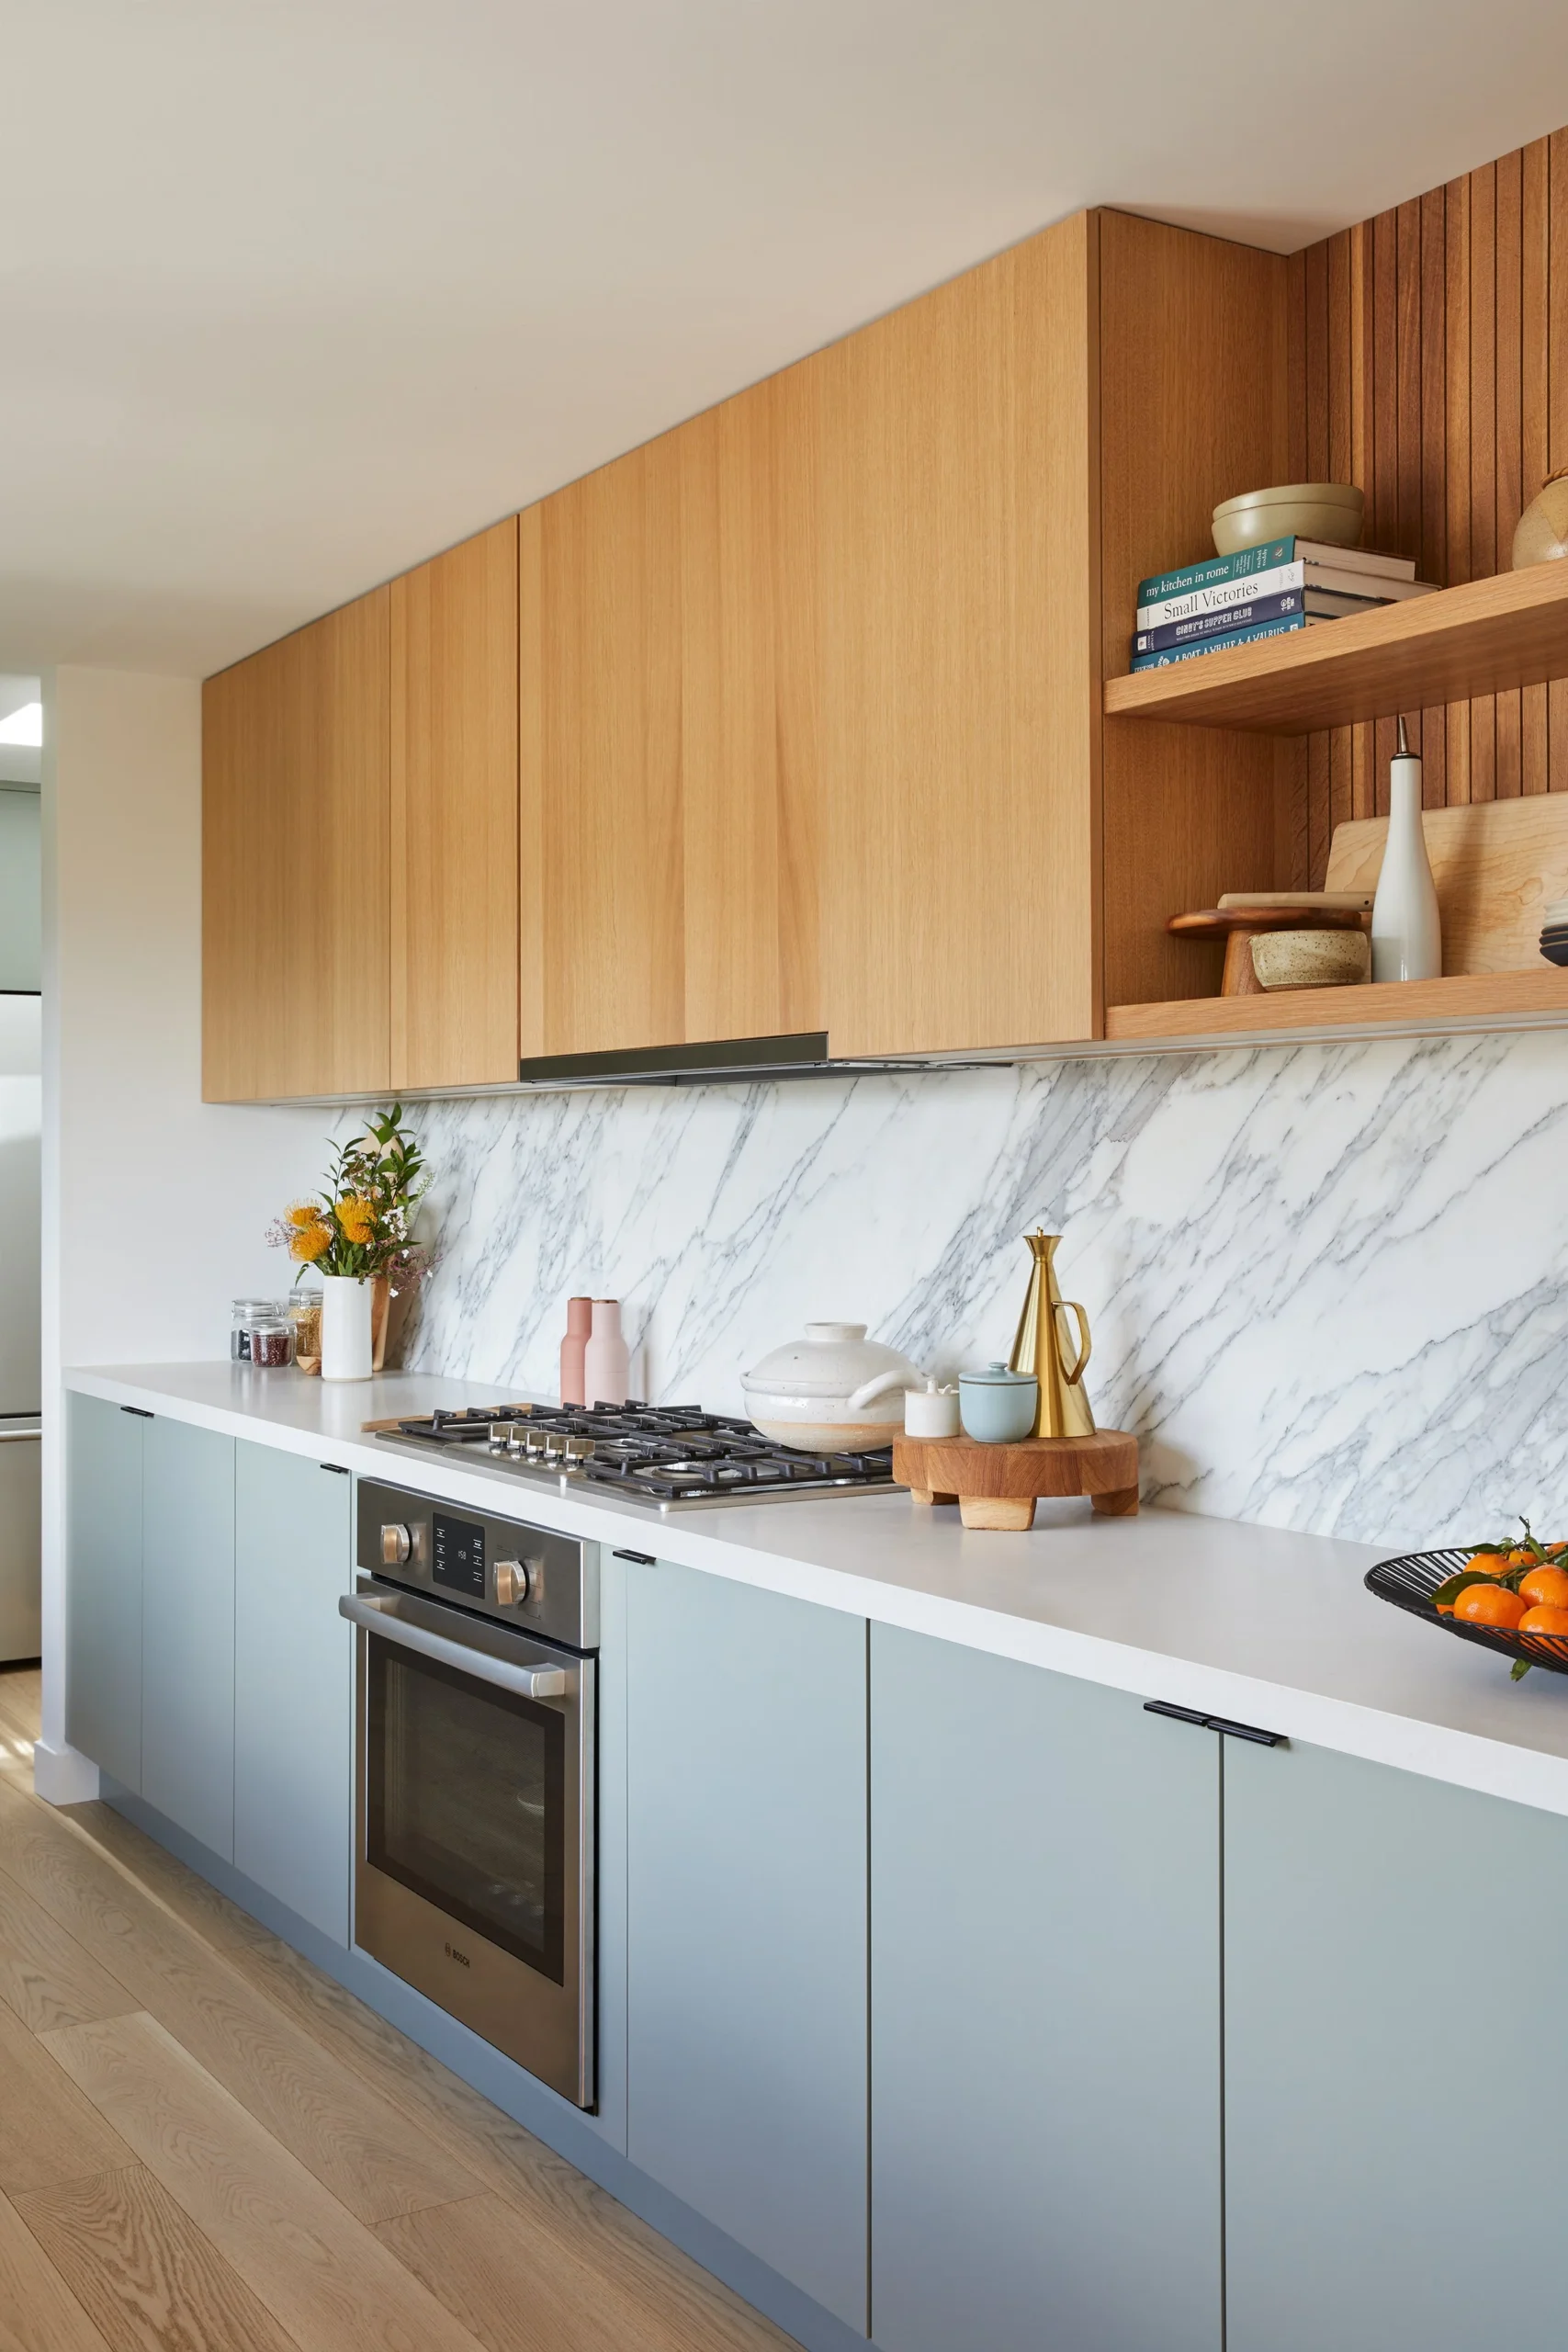
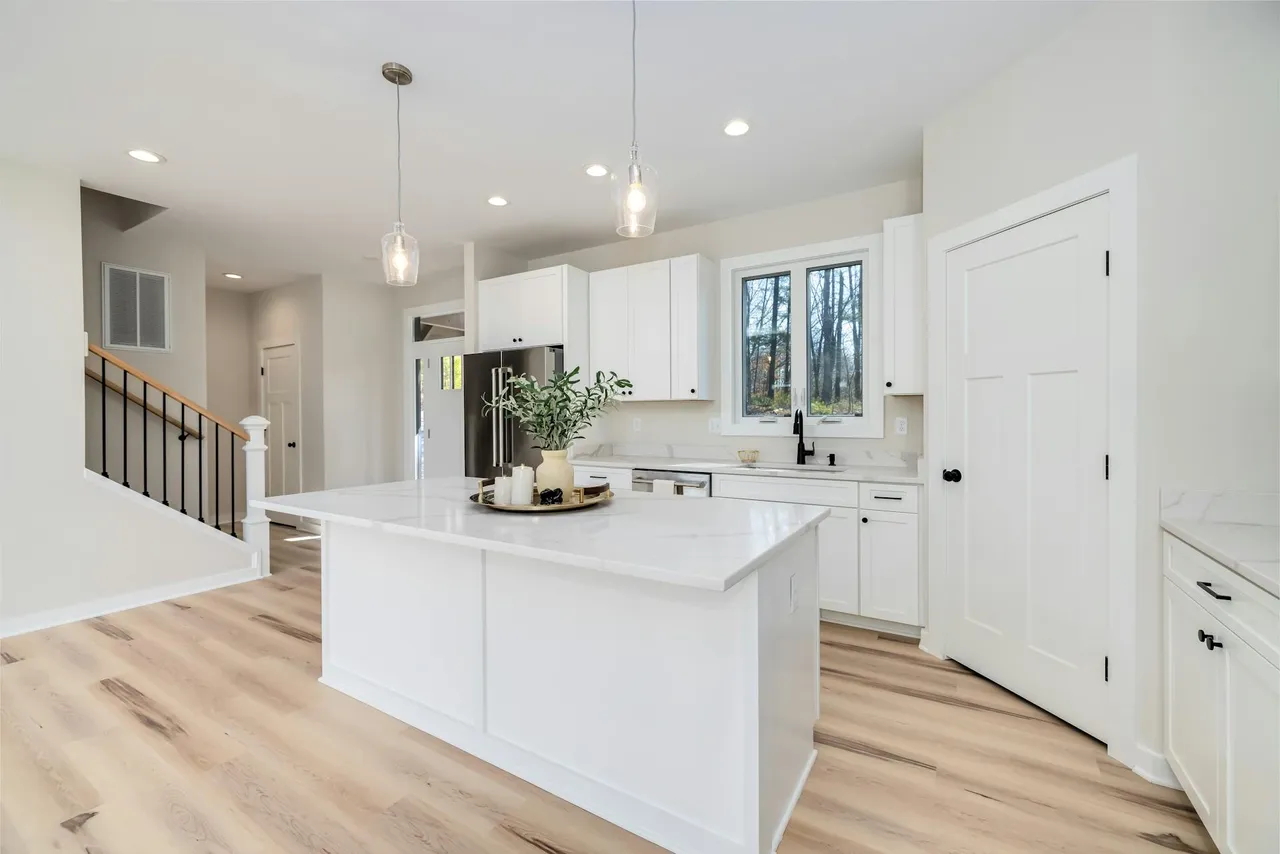
Color is another powerful tool. Matching the island’s base to your existing cabinets creates a seamless, unified look, making the kitchen feel more spacious.
If you want the island to be a star, consider a contrasting color. A deep navy, warm wood tone, or cheerful green can turn the island into a statement piece. This simple design choice anchors your space with a pop of personal style.
Your Kitchen Island Checklist
Planning the perfect island isn’t one overwhelming decision but a series of smart ones. Use this checklist to build your plan.
Your 6-Point Island Plan:
- Measure Your Space
- Define Smart Storage
- Decide on Utilities
- Plan for Seating
- Pick Your Countertop
- Choose a Style
With this guide, you have the essential tips to move forward. Start with the first step—measuring your space—and you’re on your way to creating the hardworking heart of your home.