Kitchen Renovation Quality Assurance - What to Look For
Kitchen renovation quality assurance is key when it comes to making sure you end up with a beautiful and functional kitchen for decades to come. You may have a vision and have researched photos, guides and seen other’s success stories. How you translate that into your own success is going to be determined by how you manage your renovation and who you select to complete the various aspects and stages of the remodel. This is a guide for your kitchen renovation, whether it is a condo, a house, an extra kitchen or even an outdoor kitchen.
Here are a few of the reasons as to why you may choose to renovate or remodel your kitchen:
1. Add value to your property
2. Increase rental income
3. Build a kitchen that suits your family’s needs
4. Increase storage
5. Modernize your home
6. Create an open concept kitchen
Working a contractor that utilizes specialized trades, is the best way to get the most quality work and achieve the best finish. Here is a list of several trades that your contractor would on your kitchen renovation project:
· Demolition
· Electrician
· Plumber
· Cabinet Maker
· Countertop professional
· Flooring installer
We will touch on what to look for in quality workmanship, initial conversations to have with your contractor and how you can get the best results with the least number of deficiencies.
The very first step in the process is ensuring that you’re working with a qualified, organized, and reputable contractor. So how do you choose the right contractor for your project?
Word of mouth
If you’ve had friends or family have a positive experience with a contractor, then why not reach out to them to see if they can do your job too? The added bonus of knowing your contractor is they will feel more allegiance to your family or group of friends and be sure to do a good job. This will guarantee them more business in the future.
Reviews
Nowadays it is easy to log onto the internet and find reviews from people who have used the contractor in the past. Google reviews, for example, is a good way to get information and recommendations from verified users. Combine the reviews with a quote to see if they are a good fit for you.
Multiple quotes
It’s good practice to get quotes from at least two contractors and see how their quotes match up. It’s not recommended to necessarily go with the cheapest but it’s worth comparing and considering different options. Be sure to ask questions about the type of work they have done in the past and if they have recent pictures to show if the work is similar to what you have in mind. Keep your budget in mind, whether it’s a high end remodel or on a budget you still want optimize what you can get for how much you are laying out.
Out with old and in with the new… Demo Day
Demolition Day. The kitchen you want is most likely a complete makeover so we always recommend removing everything and having a clean slate to work with. Don’t schedule anything else for Day 1. You never know what the demo crew might run into and it’s imperative to give trades enough time to complete a thorough job instead of worrying about the next trade trying to get into the space.
If there are items you are keeping, make sure this is communicated with your contractor, or better yet, remove them first, placing them safely to the side and out of the way.
This is the beginning of the project, and you want to start on a positive note. Discuss with them BEFORE they start what you are keeping and what you are not.
What are the signs of a demolition job done right?
- Water, power and gas are all turned off prior to start
- Surface protection is installed ahead of time to ensure no damage is done to flooring or any other surfaces during demolition
- Dust/debris prevention measures are taken
- All garbage is removed from site post-demo
- Floor surfaces are smoothed out
Electrical Checklist for Kitchen Renovation Quality Assurance
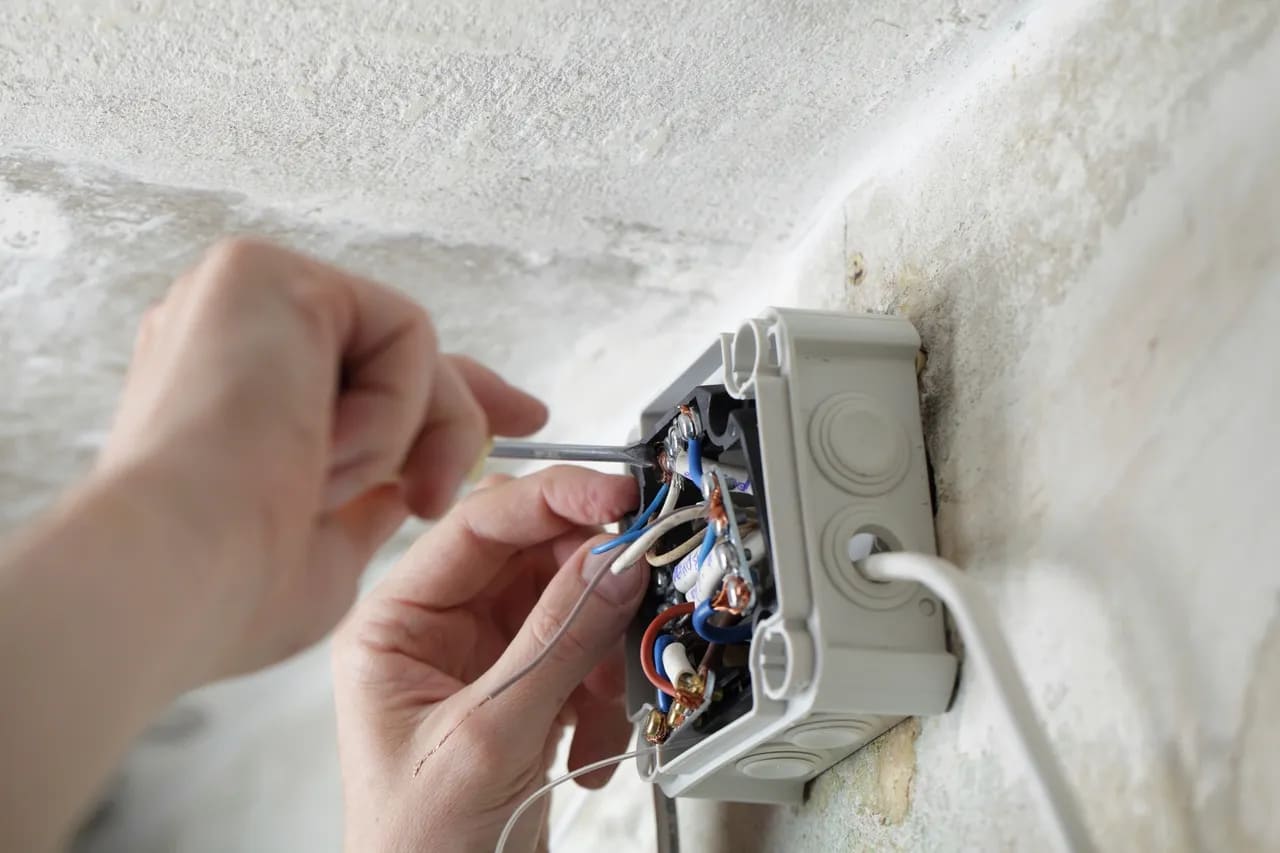
Electrician will typically come in right after Demolition to work on what’s called “rough-in”. Rough-in is the stage when the any addition, deletion, or relocation of receptacles and lighting are done. If you are planning on customizing and choosing the location of your outlets, receptacles and lighting, it’s important to communicate this with your contractor in advance, to ensure they have it included in your project budget, as well as planning for the electrician to come in on time.
Decide on where you want everything to go ahead of time. If you’re changing the location of your appliances, a plumber may also be needed during the rough-in stage.
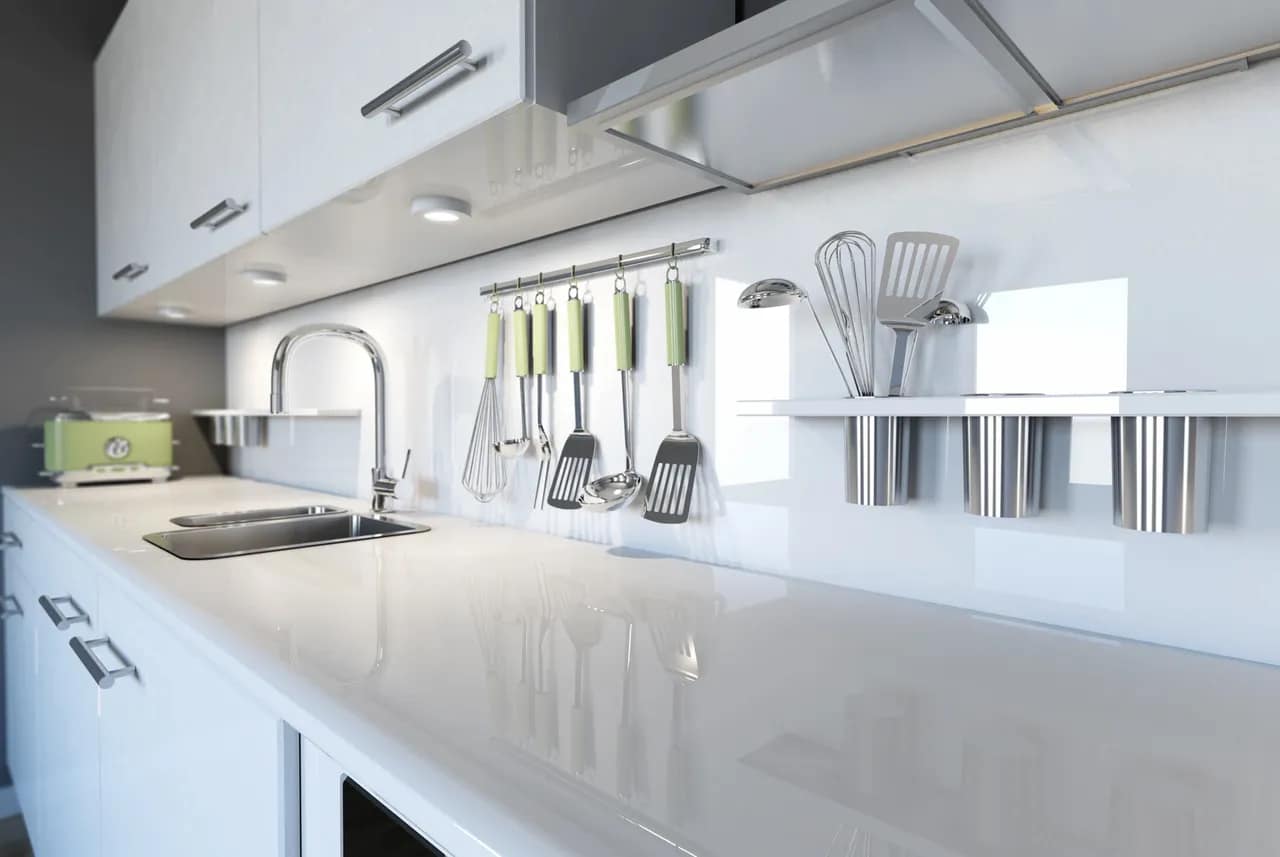
Under cabinet lighting is a nice feature to have, your electrician must plan for it and ensure the wiring is in the correct places before the cabinets go in, and he’ll be able to come back after they are installed to finish the installation of the puck lights or strip lighting, depending on your preference.
Plumbing Checklist for Kitchen Renovation Quality Assurance
The plumber will not be needed until the finishing stages of your project unless you’re relocating your sink or appliances.
Once your cabinets are in and your countertops measured and in place, the plumber can install your sink and faucets, they can hook up your fridge (if your fridge requires a water line) and dishwasher too. Check your appliances for functionality, as well as hot and cold water at the sink to avoid deficiencies and additional calls later on. Getting small issues fixed while the trade is on site, will mean that you can settle into your new kitchen faster!
Cabinetry Checklist for Kitchen Renovation Quality Assurance
Choosing your cabinetry is going to make a huge difference for your kitchen look and finish, take time to select what suits your needs and style. Don’t take functional cabinets for granted. It’s a narrow margins game and hiring a reputable millwork shop, who can provide drawings and rendering in advance is an absolute must. Cabinets are arguably the most critical part of your kitchen renovation.
When it comes to custom cabinetry, the colour and design options are nearly endless, so be prepared to make decisions that you will be happy with for years to come. Whether you are going with a timeless, traditional design, spicing it up a little with a transitional look or going all modern, make sure you choose cabinets that you will be happy with for years to come. Consider the resale value of your home, if you’re considering the possibility of selling your home at some point in the next 5-10 years.
Once the cabinets are made, it’s time for delivery. To give the cabinet installers the best chance of not damaging your brand new cabinets, your contractor must ensure easy, obstacle-free access to site and sufficient time for installation. Cabinet installation for most kitchens take a full day so it’s best not to schedule anything else for this day, and allowing the cabinet contractor sufficient time for getting the installation perfect. At the end of the day, your contractor should complete a deficiency walk-through and get any issues found resolved. If you are going to be accompanying them for this walk-through, here is a list of things you should look out for:
- Chips, scratches or dents on the doors, end panels and or inside cabinet boxes
- Ensuring doors open and close without obstructions
- Making sure soft-close functionality works flawlessly
- Making sure all screw holes are capped for a nice tidy finish inside the cabinets
- Asking for some touch-up paint to be left behind in case of minor touch-ups that may be required later
Now with cabinets out of the way, the next step is to measure countertops.
Countertops Checklist for Kitchen Renovation Quality Assurance
Once you have chosen your countertop colour and material (forewarning, there are hundreds of options to choose from), it’s time for site measurement. Typically, your countertops will require 7-10 days for installation, from the time of site measurement. Check and make sure there are no large, visible gaps, after the installation. If the backsplash matches the countertop then make sure it lines up perfectly and is siliconed behind the sink. You may have chosen a tile backsplash, in which case follow these quality control steps:
– Plan the layout and the direction of the tiles with your contractor
– Select your grout colour (check recommend options with your contractor if you’re unsure)
– Make sure the tiles are even, none protruding and the grout lines are even throughout
Flooring Checklist for Kitchen Renovation Quality Assurance
Once your cabinets are in, it’s time to get on with the flooring. Depending on which flooring you have chosen. Review the layout of the flooring and the direction you want with your contractor ahead of time. Your will be able to provide some good advice on what works and which you layout will achieve the best results aesthetically.
If you’re installing vinyl or laminate flooring, here is a list of things you should look for to ensure a quality flooring installation:
- Seams and end joints are close together, with no gaps
- The hardwood will meet the walls snugly, without any edges showing
- There are no gaps underneath the flooring (these may lead to unwanted noise or buckling over time)
If tiles are being installed then check for the following items:
- Tile layout and grout color are correct
- There are no chipped tiles
- All grout lines are even
- No excessive gaps are present where tiles meet the walls (small gaps, under 1/2″ will be covered by baseboards)
Hopefully this quality control guide helps you achieve great results on your next kitchen renovation. If you have any questions or would like to discuss renovating or remodeling your kitchen, please reach out to us online for a complimentary design consultation or detailed quotation.
www.quayconstruction.ca
info@quayconstruction.ca
(778) 697-9924


