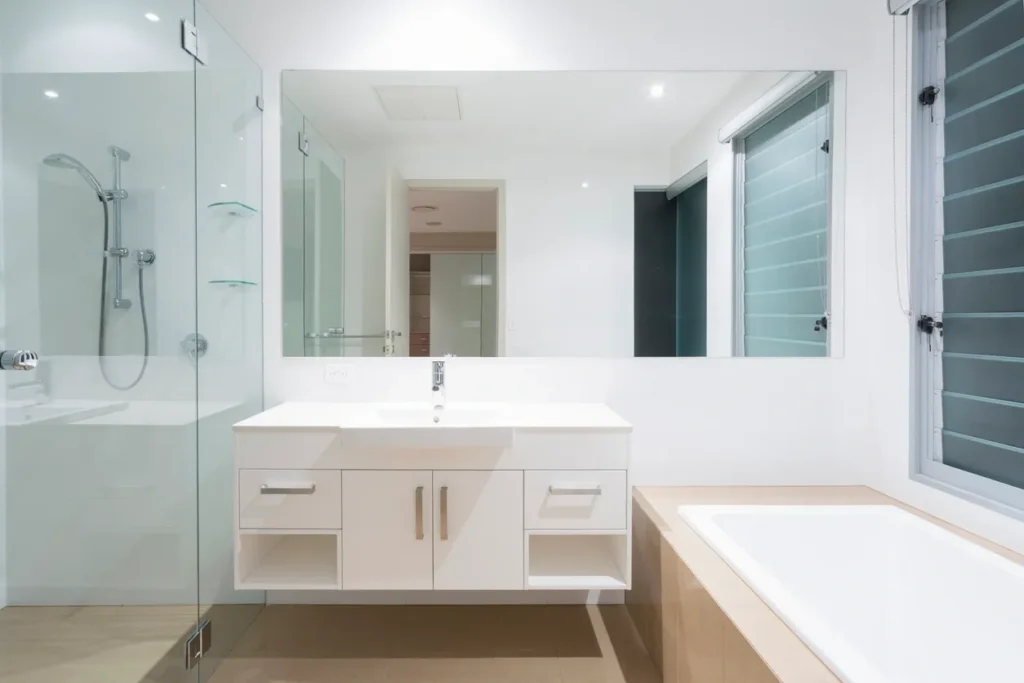
- Bathroom
Bathroom Renovation Guide: How to Manage Your Renovation
- By matin@quayconstruction.ca
Table of Contents
If you’re considering a bathroom renovation, this comprehensive bathroom renovation guide will walk you through every step of the process, ensuring your makeover is seamless, stress-free, and stunning.
Why Bathroom Renovations Are Worth the Investment
A bathroom renovation is more than just a home improvement project—it’s an investment in your property’s value and your daily comfort. Whether you’re updating an outdated space or creating a spa-like retreat, a well-executed renovation can transform your bathroom into a functional and aesthetically pleasing haven. However, the key to a successful bathroom renovation lies in proper planning, hiring the right professionals, and managing the project effectively.
In this bathroom renovation guide, we’ll cover everything you need to know about managing your bathroom renovation, from choosing contractors to creating a detailed timeline. By the end, you’ll feel confident and prepared to tackle your dream makeover.
Step 1: Choosing the Right Contractors for Your Bathroom Renovation
One of the most critical aspects of a successful bathroom renovation is hiring the right professionals. While it might be tempting to hire a single contractor to handle everything, we recommend working with specialists for each aspect of the project. Here’s why:
Plumbers ensure leak-free installations and perfect faucet alignment.
Electricians guarantee safe and efficient lighting solutions.
Tile professionals deliver flawless grout lines and durable tiling.
How to Find the Best Contractors
Word of Mouth: Start by asking friends, family, or neighbors for recommendations. Contractors who come highly recommended are more likely to deliver quality work.
Online Reviews: Check platforms like Google, Yelp, or Houzz for reviews and ratings. Look for contractors with consistently positive feedback.
Get Multiple Quotes: Don’t settle for the first quote you receive. Compare prices and services from at least three contractors to ensure you’re getting the best value.
Remember, the cheapest option isn’t always the best. Focus on finding a balance between affordability and quality.
Step 2: Creating a Detailed Bathroom Renovation Timeline
A well-structured timeline is essential for keeping your renovation on track. Here’s a step-by-step breakdown of the process:
1. Demolition Day
The first step in any bathroom renovation is demolition. This involves removing old tiles, fixtures, and any outdated elements. To ensure a smooth start:
Clearly communicate with the demolition crew about what to keep and what to remove.
Ensure the site is left clean and ready for the next phase.
Consider upgrading to waterproof drywall (like DenseShield) to prevent future leaks.
2. Electrical Work
Once the space is cleared, your electrician can begin installing or relocating outlets, switches, and lighting fixtures. Key considerations include:
Centering recessed lighting for even illumination.
Ensuring vanity light boxes are perfectly aligned with your new mirror.
Installing a high-quality bathroom fan to prevent moisture buildup.
3. Tiling
Tiling is where your bathroom starts to take shape. To achieve a professional finish:
Discuss tile direction and layout with your tiler.
Ensure grout lines are even and consistent.
Use silicone to seal edges and prevent water damage.
4. Carpentry
Your carpenter will handle tasks like installing the vanity, baseboards, and door casings. This is also the time to plan for accessories like towel racks and robe hooks.
5. Plumbing
With the tiles in place, your plumber can install fixtures like the vanity, toilet, and shower trim. Before they leave, test for leaks and ensure everything functions correctly.
6. Drywall and Painting
The final steps involve drywall repairs and painting. A neutral color palette is recommended to let your tiles and fixtures shine, but don’t be afraid to add a pop of color for a personalized touch.
Step 3: Ensuring Quality Workmanship
Quality workmanship is the cornerstone of a successful bathroom renovation. Here’s how to ensure your contractors deliver their best:
Set Clear Expectations: Discuss your vision and goals with each contractor before work begins.
Inspect Progress Regularly: Check in periodically to ensure the work meets your standards.
Communicate Effectively: Maintain open lines of communication to address any issues promptly.
Step 4: Avoiding Common Bathroom Renovation Pitfalls
Even with the best planning, challenges can arise during a renovation. Here’s how to avoid common pitfalls:
Budget Overruns: Set aside a contingency fund for unexpected expenses.
Delays: Build some flexibility into your timeline to account for unforeseen delays.
Poor Workmanship: Hire experienced professionals and don’t hesitate to address any concerns immediately.
Step 5: Adding the Finishing Touches
Once the major work is complete, it’s time to add the finishing touches that make your bathroom uniquely yours. Consider:
Accessories: Towel racks, robe hooks, and toilet paper holders.
Lighting: Layered lighting for a warm and inviting ambiance.
Decor: Plants, artwork, or scented candles to enhance the space.
Conclusion: Your Dream Bathroom Awaits
A bathroom renovation is a significant undertaking, but with the right planning and professionals, it can be a rewarding experience. By following this guide, you’ll be well-equipped to manage your makeover with confidence and achieve a stunning, long-lasting result.
Remember, the key to a successful bathroom renovation lies in careful planning, clear communication, and quality workmanship. So take the first step today, and transform your bathroom into the space you’ve always dreamed of.
Related Posts

Cabinet Costs Vancouver: Stock vs Semi-Custom vs Custom (2026 Guide)


