Smooth Transition: Step-by-Step Guide to Popcorn Ceiling Removal
Popcorn ceilings originated in the United States during the 1930s. They gained popularity in the 1950s and 1960s as a cost-effective way to hide imperfections in ceiling surfaces. The textured appearance of popcorn ceilings was achieved by spraying a mixture of paint and various materials, including small particles of Styrofoam, onto the ceiling. This texture helped absorb sound and reduce echoes, which was an appealing feature for many homeowners.
While popcorn ceilings were popular for a time, they fell out of favor in the late 20th century. This decline was due to a variety of reasons. Popcorn ceilings could collect dust and cobwebs, making them difficult to clean. Additionally, they were associated with the dated aesthetic of the 1970s and 1980s, which became less fashionable over time.
Another significant factor contributing to the decline in popularity of popcorn ceilings was the potential health and safety issues associated with them. Many popcorn ceilings installed before the 1980s contained asbestos, which was later discovered to be a carcinogen. Asbestos was used as a binding agent in the textured material, and removing or disturbing asbestos-containing popcorn ceilings can release harmful fibers into the air.
Nowadays, homeowners and property owners who want to modernize their spaces prefer removing or covering up popcorn ceilings. This often involves scraping off the textured layer, which is a labor-intensive and messy process. In cases where asbestos is present, professional asbestos abatement is also necessary. As such, the popcorn ceiling removal process is often more time consuming, labour intensive and expensive than people assume. In this post, we’ll dive into what it takes to turn your old popcorn ceiling into a modern flat ceiling with a painted finish.
Why Remove a Popcorn Ceiling?
It is no longer a trendy look to have a textured popcorn ceiling. Like drop ceilings, partition walls and dark colours, popcorn ceilings are no longer a preferred aesthetic. People are opting for simple and open plan living areas. Popcorn ceilings are known to trap dust, be difficult to clean, and make a space feel enclosed and old. By having the popcorn ceiling safely removed and a clean smooth surface to work with, you can easily paint and give your house or con do a fresh look that will modernize the space.
Safety Precautions - Testing for Asbestos
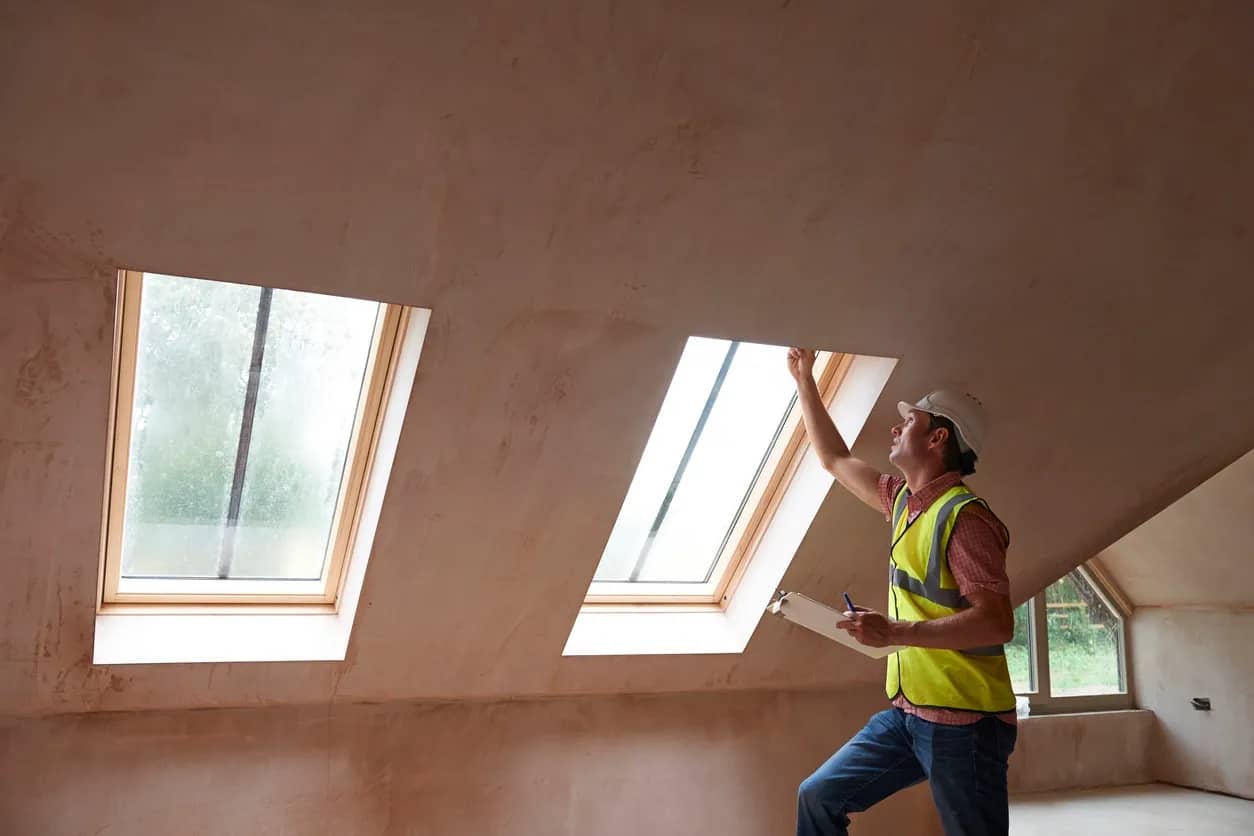
If the ceiling was installed from 1950-1980 then there is a chance it contains asbestos and should be treated with care, a construction professional can ensure this process is handled in a safe manner and any waste is disposed of according to City regulations. Asbestos and lead paint testing can be done by sending a small sample to the lab and devising a removal plan accordingly.
By hiring an experienced construction contractor, you can reduce your overall risk and ensure that everything is done in a streamlined, timely manner. When it comes to popcorn ceiling removal this will also often reduce your overall costs, as purchasing or renting tools required to remove the popcorn texture, applying new flat finish to the ceiling and painting your new flat ceilings may cost more as DIY project.
Preparation
The removal process for a popcorn ceiling takes approximately 5-7 business days depending on the thickness of the texture and square footage of your home. Before starting texture removal process, it is important to clear the area of any furniture and personal belongings and protect surfaces such as windows, sills, heaters, and floors. There are a couple of options here as each room needs to be cleared to avoid damage and provide access to the entire ceiling. As with any renovations and room altering makeovers good preparation will set up a successful job.
When it comes to popcorn texture removal, an empty space is ideal. However, if your home is occupied during the renovation, then additional times must be allowed to relocate items room by room as the removal work progresses. It is recommended that for extensive work such as popcorn ceiling removal that all furniture be removed from the rooms being worked on. This allows the best access and freedom of movement for the drywall professionals to get the job done in a timely manner.
Any furniture or household items left in the room should be thoroughly covered with plastic as there will be a lot of dust created and debris falling from the ceiling. The floor should also be protected with appropriate floor protection measures whether you have carpet or wood flooring.
Step by Step Guide to Popcorn Ceiling Removal
Step 1
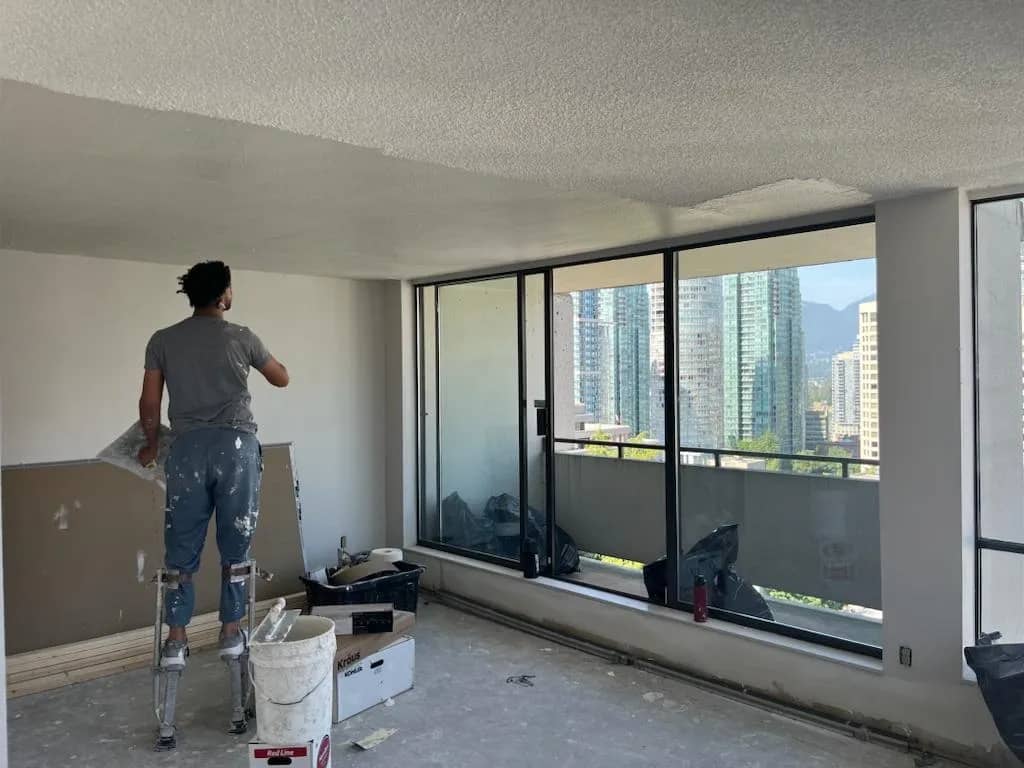
The first step is to remove any excess popcorn texture by scraping the surface to smooth it as much as possible. Removing the larger protruding pieces will make the drywall mudding process easier and allow less coats to be applied to achieve the desired smooth finish. This scraping process will create dust and debris so it’s a good idea to block any doorways nearby to rooms that are not protected. Once the texture has been reduced to as fine as possible it is time to start the “mudding” process, which is what gives you the modern, flat finish. The texture removal will take approximately 1 day.
Step 2
The first coat of drywall mud is applied (as shown above) and will determine how many coats are needed. If the scraping was thorough and even then the mudding process is much more efficient. The first coat is applied relatively thick and left to dry for 1 day.
Step 3
A professionally applied first coat should not require any sanding, limiting dust and waste. By saving material and waste, your contractor can lower the environmental footprint of the project. This is another benefit of hiring an experienced professional contractor to perform renovations and alterations to your property.
The second coat will focus on areas where the texture is still visible, and feather into the first coat. Focus on perfecting the perimeter, paying close attention to corners and the walls will save time later and avoid excess sanding and dust.
One further day of drying normally follows.
Step 4
Having now finished applying mud, the final sanding process will vary depending on the quality of the drywall work. The goal of this sand the ceiling smooth and to prepare the surface for painting. The old saying “paint hides nothing” is good to keep in mind here. If anything, paint can accentuate any imperfections in the drywall process. By the same token, paint will amplify a professionally done ceiling. The results will add value and be enjoyed for years to come.
This process has taken 5-6 business days and the completion of the construction project is in sight.
Painting the Ceiling
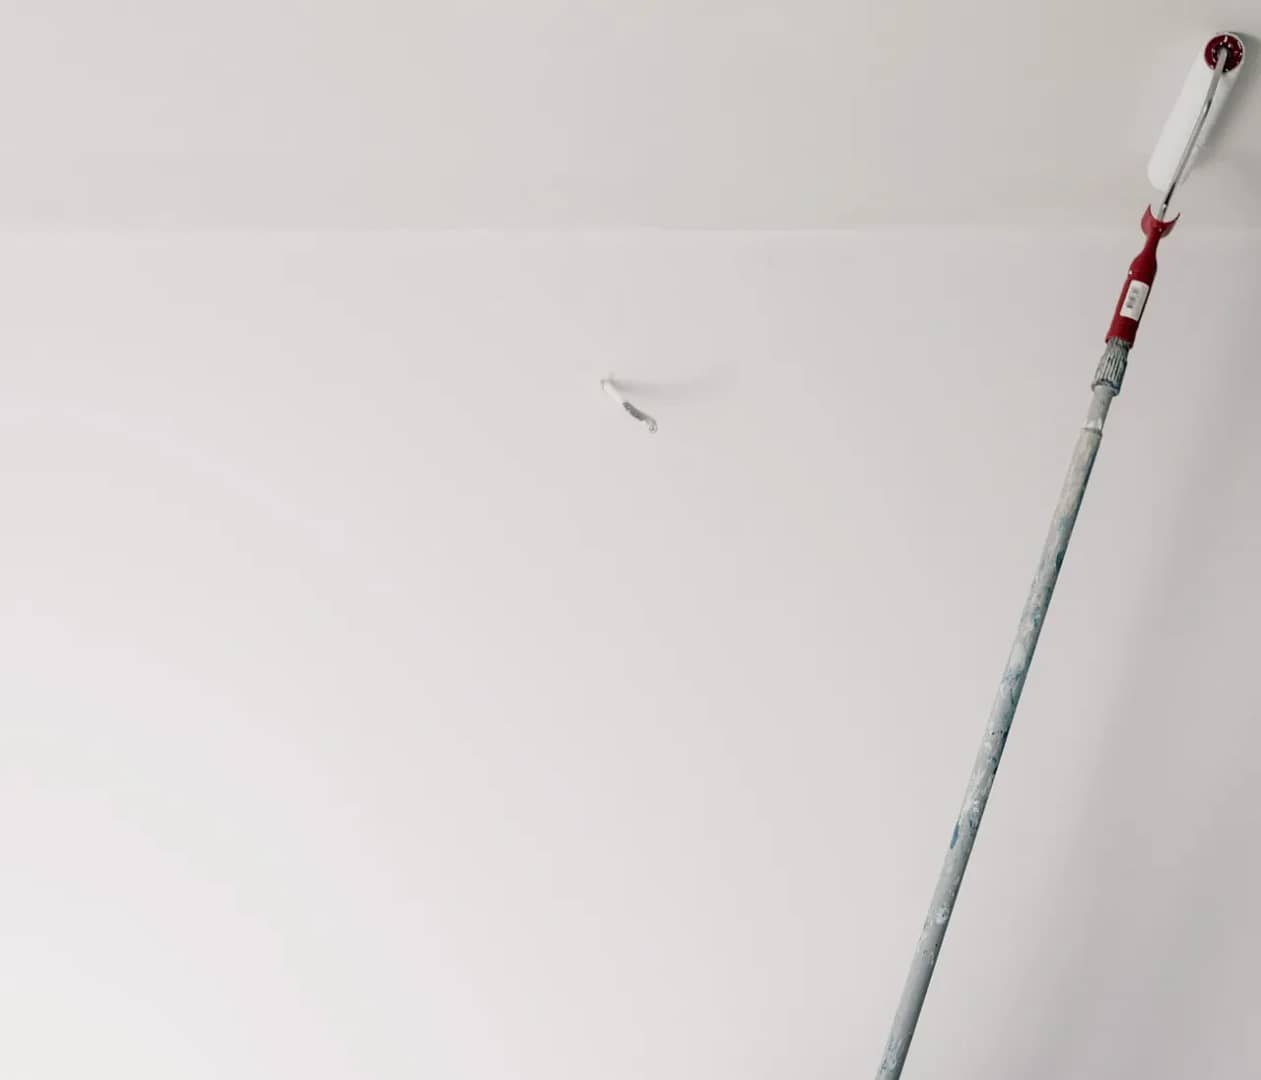
Now that the ceiling is complete the painting process can begin. Paint colour choice is important and will heavily impact the overall feel of the room. Brighter colours and variations of white and grey are the most popular choices for brightening up any room and for large rooms. Smaller rooms and bathrooms give more room for expression and can benefit from a dramatic feature colour.
Choosing the right sheen for your ceiling paint is extremely important. When it comes to ceiling paint, flat or matte finish are the most popular but by no means your only choice. Here are a few different options you may want to consider and how they can each help create the perfect ceiling finish for your home.
- Flat or Matte: Flat paint has no shine and is a popular choice for ceilings. It helps to hide imperfections on the ceiling surface and provides a uniform, non-reflective appearance. It’s a good choice if your ceiling has minor flaws or if you want a subtle, understated look. However, it can be more challenging to clean if it gets dirty.
- Eggshell: Eggshell is a slight step up from flat in terms of sheen. It has a subtle, soft sheen and is easier to clean than flat paint. It can give the ceiling a slight glow without being too reflective. It’s a good choice for most rooms, especially if you want a bit more washability.
- Satin: Satin paint has a smooth, velvety finish that reflects more light than flat or eggshell sheens. It’s easy to clean and adds a bit of luster to the ceiling. This can be a good choice for bathrooms and kitchens, where moisture and splatters are more common.
- Semi-Gloss or Gloss: Semi-gloss and gloss paints have a shiny finish that is highly reflective. They are the easiest to clean, making them suitable for high-moisture areas like bathrooms and kitchens. However, they are less commonly used on ceilings in most residential spaces because their high sheen can make imperfections more noticeable.
Cost and Benefits of Removal of Popcorn Ceiling
Costs associated with the removal of a popcorn ceiling will vary depending on the contractor, the ceiling height and the square footage of the ceiling. Typically budget for between $5.50 and $6.50 per square foot. Costs may vary if you’re planning on removing popcorn texture in only a small area or have high ceilings over 10′.
Final Thoughts
Popcorn ceilings are dated and may pose safety concerns in some cases. Including them in your renovation or having them removed on their own is a great investment into your property.
If you have any questions about popcorn ceilings, or are considering having them removed in your home, contact us below for a free consultation.
www.quayconstruction.ca
info@quayconstruction.ca
(778) 697-9924


