- Commercial
Medical Clinic Layout: Exam Rooms, Privacy and Patient Flow
- By QUAY Construction
A good medical clinic layout puts patients, staff and records in the right places before a single wall goes up. Reception and waiting sit at the front, exam and treatment rooms sit along a clinical corridor behind them, and staff, storage and support rooms sit at the back, out of the public route. Inside that plan, three things decide whether the clinic works day to day: a sink and enough clear floor in every exam room, walls and doors that keep conversations private, and finishes that can be cleaned between every patient. Layout planning is the first stage of our medical clinic renovation service in Vancouver, and this guide walks through each zone, the privacy and infection-control details that are easy to miss, and two real QUAY clinic projects in False Creek and Fairview.
Quick answer. Plan the clinic in zones (arrival, clinical, staff and support), keep the public route short and separate from the clinical one, put a hand sink in every exam or treatment room from the start, insulate the walls between rooms and use solid core doors, and choose resilient, cleanable flooring. Confirm your health authority and professional college requirements before the layout is final. QUAY’s current planning range for clinic construction in Vancouver is about $180 to $300 per square foot, with four to eight weeks of construction once permits are in place.
The four zones of a medical clinic
Almost every clinic, from a two-room physiotherapy practice to a multi-doctor family clinic, breaks down into the same zones. The layout diagram below shows the order a patient moves through them, and the table shows what each zone needs.
| Step | Zone | Who uses it |
|---|---|---|
| 1 | Entry, reception and waiting | Patients and visitors, front-desk staff |
| 2 | Clinical corridor: exam, treatment and consultation rooms | Patients with a practitioner |
| 3 | Patient washroom, recovery or quiet room | Patients, close to the clinical rooms |
| 4 | Staff and support: charting, offices, staff room, supply storage, records, cleaning | Staff only, off the public route |
| Zone | What it needs | Layout tip |
|---|---|---|
| Reception and waiting | Reception desk with storage, seating, an accessible route from the door, power and data at the desk | Give reception a clear view of the door and the waiting area, and keep screens turned away from patients |
| Exam and treatment rooms | Room for the table or chair and the practitioner on the working side, a hand sink, clinical cabinetry, task lighting, power and data | Group rooms along one corridor so plumbing runs stay short and staff can move between rooms quickly |
| Consultation rooms and offices | A desk, two or three chairs, sound separation from the corridor | Place them where a conversation will not carry into the waiting room |
| Staff and support | Charting space, a staff room, supply and medical storage, a lockable records area, a cleaning or janitor space | Keep this zone behind the clinical rooms so staff can work without crossing the waiting room |
Patient flow: keep the public route short
Patient flow is the path a patient takes from the front door to the exam room and back out again. The best clinic layouts keep that path short, obvious and separate from the routes staff use for supplies, charts and breaks. A few principles cover most clinics:
- Arrival should be self-explanatory. A patient should see the reception desk the moment they open the door, and the waiting area should be beside it, not around a corner.
- One clinical corridor beats several. Exam rooms off a single corridor are easier to supervise, easier to plumb and easier for patients to find when they are called.
- Staff need a back route. If the only way from the staff room to the exam rooms is through the waiting room, the clinic will feel busy and private conversations will happen in public.
- Plan for accessibility from the entrance in. Entrances, doorways, the route to reception, the reception counter itself and the patient washroom all need to work for people using mobility aids. The applicable rules are in the Vancouver Building By-law for clinics in the City of Vancouver and in the BC Building Code in most other BC municipalities; your designer applies them to your space. QUAY also handles accessibility upgrades to existing commercial spaces.
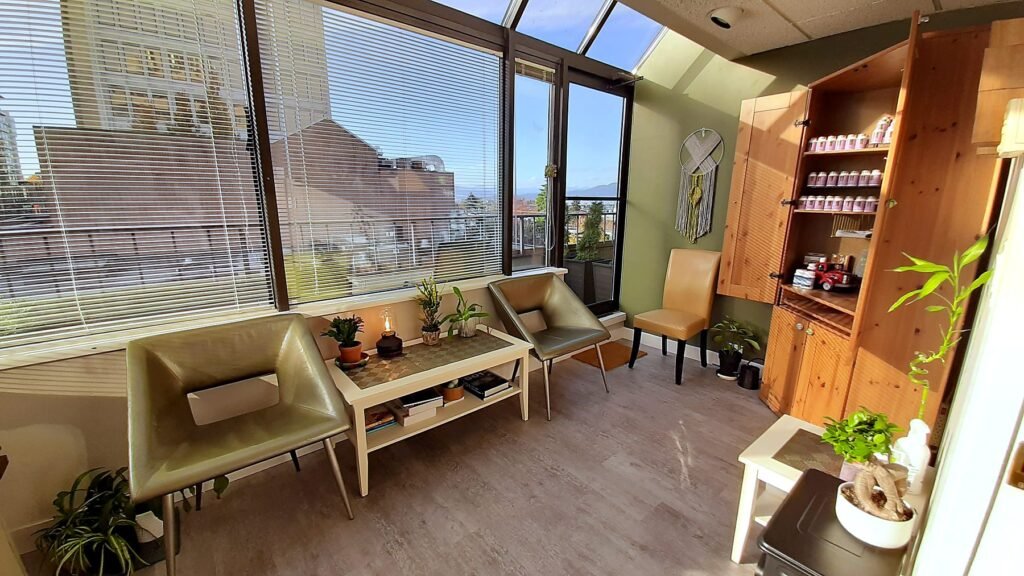
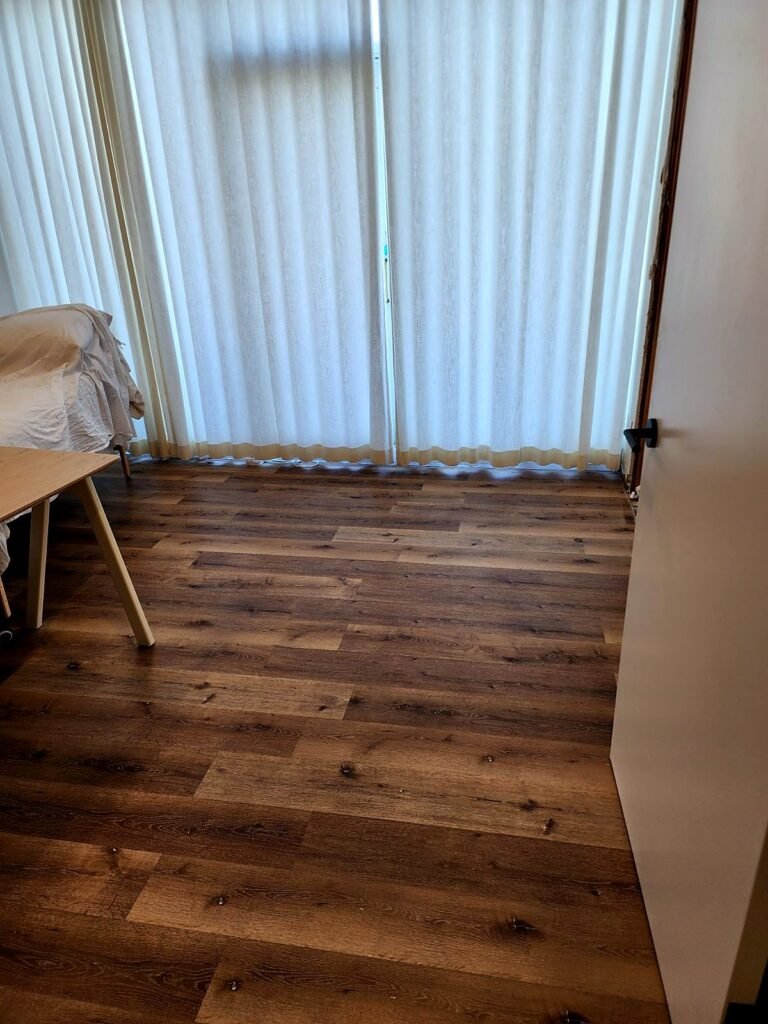
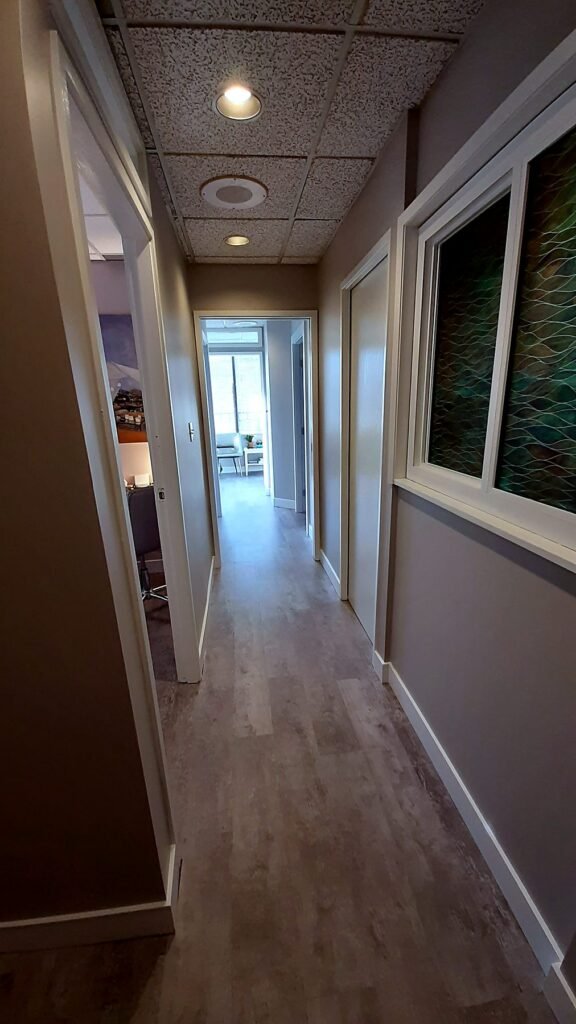
On our Fairview chiropractic office renovation on West Broadway, the suite already had a sensible plan: reception and waiting along the windows, then a hallway with treatment rooms off it. The practice did not need new walls. It needed the layout to read clearly and stay easy to clean, so QUAY ran new vinyl plank flooring continuously from the entry, through the hallway and into every treatment room, removed two built-in desks the practice no longer used, and repainted the suite. Reusing a layout that already works is one of the simplest ways to keep a clinic budget down.
Exam and treatment rooms: size, sinks and services
Exam room size is set by what happens in the room, not by a single standard number. When you plan each room, list what has to fit and work together:
- the exam table or treatment chair, with space for the practitioner to work on the side they need;
- a practitioner stool, a small desk or charting surface, and a chair for a companion;
- a hand sink with cabinetry and a durable counter around it;
- any equipment that needs its own circuit, data connection, clearance or wall support;
- a door that swings without hitting the table, and enough turning space for a patient using a wheelchair or walker where the room has to be accessible.
Your designer or architect turns that list into room dimensions, and your equipment supplier’s specifications and your professional college’s standards may add requirements of their own. Settle the equipment list early: clinical cabinetry, specialty equipment and mechanical units are long-lead items, and the electrical and data rough-in has to be done before the walls close.
Plan a sink in every room from the start
Sinks are the detail that most often forces a clinic layout to change late. Every sink needs a drain, a vent and water lines, and in an upper-floor suite with a concrete floor, a new drain means going through the slab.
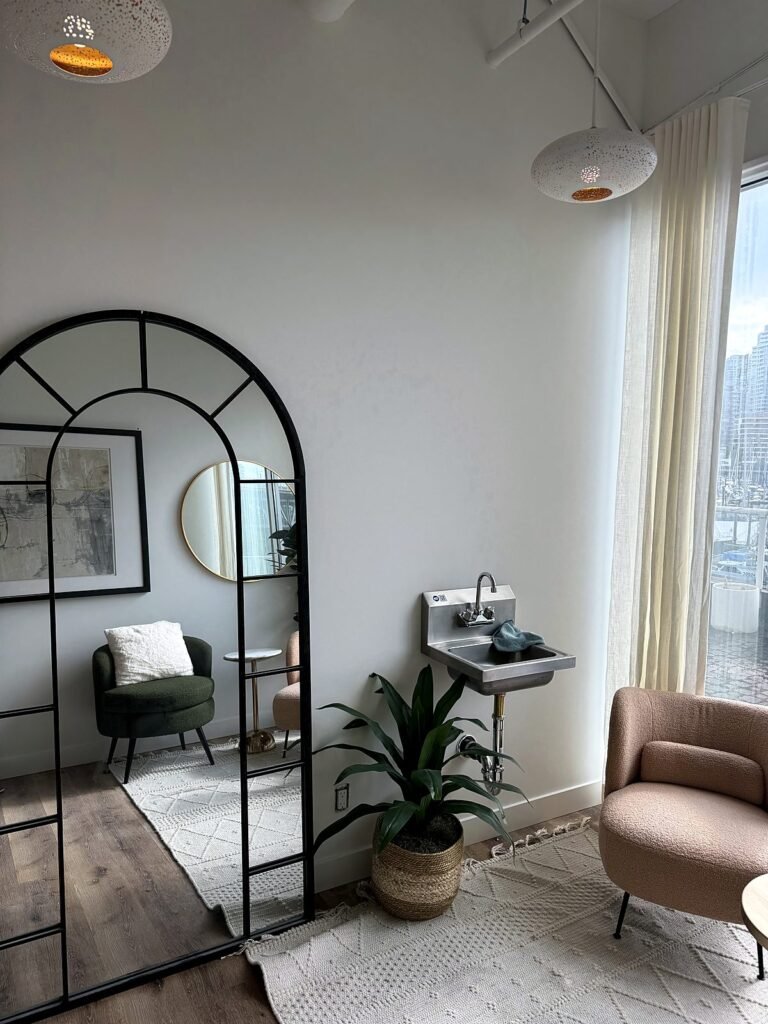
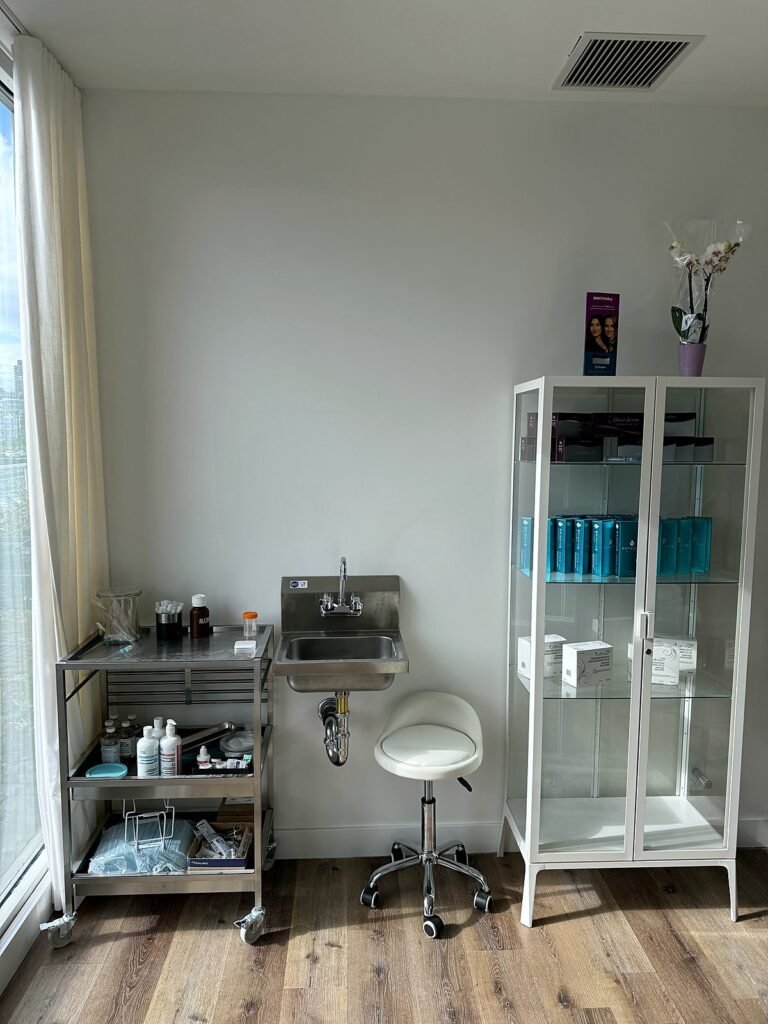
That was the core of our False Creek health clinic tenant improvement near Granville Island. To meet Vancouver Coastal Health requirements, the clinic needed hand sinks in its treatment and recovery rooms. QUAY added six new stainless wall-mount sinks with faucets, two in the recovery area and two in each pair of treatment rooms. The suite sits over a parkade, so each drain started with scanning the slab and coring a hole for the new line, and the coring was scheduled on weekends when the parkade below could be completely cleared. We opened the walls only where the plumbing had to run, relocated outlets out of the way, then patched and painted so rooms were ready for patients once the plumbing was signed off.
The lesson for a new layout: group exam rooms so their sinks can share plumbing runs, find out where the building’s drain and vent connections are before you fix room positions, and ask the building manager early about coring, water shut-offs and quiet hours.
Privacy: what walls, doors and reception design can do
Patients notice privacy in two ways: whether they can be overheard, and whether they can be seen. Both are mostly decided by the layout and the construction details.
Acoustic privacy. An uninsulated partition does little to stop ordinary conversation carrying between rooms. In the False Creek clinic, QUAY divided one large recovery room into three private rooms with two new 2×4 demising walls, insulated both walls for sound isolation, drywalled both sides and hung solid core flat panel doors so each room is private and quiet. Each new room also got its own lighting circuit and switch. Insulated walls, solid core doors and keeping consultation rooms away from the waiting area are the basic tools; your designer may specify sound-rated wall assemblies or ceiling details where privacy matters most.
Visual privacy. Position each exam table so it is not in direct view of the corridor when the door opens, and keep reception computer screens turned away from patients.
Information privacy. In 2019, the Office of the Information and Privacy Commissioner for BC published a compliance review of 22 BC medical clinics under the Personal Information Protection Act. Among the safeguards it describes clinics using are locked cabinets and rooms for paper records, positioning screens away from public view, keeping printers and faxes in secure areas, access card entry and keeping voices low when discussing personal information. Several of those are layout decisions: a lockable records room or cabinet, a printer location behind reception rather than beside the waiting chairs, and a reception desk designed so the screen faces staff. Your privacy obligations are set by legislation and your college, so treat this as a construction checklist, not legal advice.
Infection control and finishes
A clinic is cleaned far more often than an office, so the finishes have to stand up to it. Our medical clinic work uses resilient flooring, tile and other commercial surfaces chosen around traffic, maintenance and cleaning, and durable wall finishes and suspended ceilings that can be maintained over the life of the clinic.
- Flooring. The False Creek clinic’s new rooms got luxury vinyl tile, about 625 sq ft, with 4-1/2 inch baseboards. At Fairview, continuous vinyl plank flooring through the reception, hallway and treatment rooms replaced worn laminate and carpet, which makes the suite easier to keep clean between patients.
- Ceilings. A T-bar ceiling gives access to services above. At Fairview, damaged ceiling tiles were replaced as part of the refresh.
- Counters and cabinetry. Clinical counters around sinks need durable work surfaces that tolerate water and cleaning products.
- Doors and trim. Solid core doors and painted trim hold up better to daily wear than hollow doors and soft finishes.
Some clinic types have specific infection-control or health authority requirements for sinks, finishes or ventilation. Confirm them for your clinic type before the layout is final, since they can change room sizes and the mechanical design.
Renovating a clinic in an occupied building
Most clinics in Vancouver sit in professional or medical office buildings with neighbours on every side, and many have to keep seeing patients while work goes on nearby. On our clinic projects, work areas are closed off from patient areas with temporary walls and protection, noisy and dusty work is scheduled after hours and on weekends, and the clinic can be phased so some rooms stay in use.
The Fairview medical building’s requirements kept construction noise out of business hours, so every shift on that project ran after hours and on weekends. Selections were agreed up front and materials were on hand before demolition, and the renovation was completed in two weeks. The False Creek clinic was planned and priced as a single phase, with all materials ordered before the start, and was finished in four weeks in June 2024.
Permits and approvals to plan for
A clinic layout usually needs a building permit, and plumbing changes such as new sinks bring their own permit and inspections. Clinics can also have health authority requirements on top of City permits, as the False Creek clinic did with Vancouver Coastal Health. Three points to check early:
- Your city’s permit route. In the City of Vancouver, the Tenant Improvement Program (TIPs) is a stream for office tenants in eligible commercial office buildings, generally those built under a building permit applied for after January 31, 2007, to get a permit for minor interior renovations faster. The City says it aims to complete an initial review and contact the applicant within 5 to 10 business days. Whether a particular clinic qualifies depends on the building and the scope, so confirm with the City. Our guide to office renovation permits and TIPs explains the route in more detail.
- Health authority and college requirements. Ask your health authority and your professional college what they require for your clinic type before the design is final.
- Building rules. Your lease and the building manager will set rules for work hours, coring, water shut-offs and deliveries. Get them in writing before you schedule.
If you are moving into a new unit rather than renovating your current one, our step-by-step guide to the tenant improvement process covers the sequence from lease to opening.
What a clinic build-out costs and how long it takes
QUAY’s 2026 planning range for medical clinic construction in Vancouver is about $180 to $300 per square foot. For a 1,200 sq ft clinic, that is about $216,000 to $360,000 of construction, excluding design and engineering fees, permit fees, medical equipment, furniture, IT and AV, signage and GST. Clinics cost more per square foot than offices because almost every room needs something extra: a sink and plumbing, sound-separated walls, more power and data, clinical millwork and cleanable finishes. A clinic that reuses an existing layout and plumbing sits toward the low end of that range. Construction typically takes four to eight weeks once permits are in place and materials are ordered.
The two projects in this guide show how much scope moves the number: about $67,000 + GST for six sinks with slab coring and one room split into three at False Creek, and about $19,500 + GST at today’s cost for new flooring, ceiling tiles, drywall repairs, an interior window and a full repaint at Fairview. For other space types, see our commercial renovation cost guide. Dental practices have their own requirements; our dental office renovation cost guide covers operatories and sterilization.
Clinic layout checklist
- List every room and what happens in it. Number of exam and treatment rooms, consultation rooms, recovery or quiet rooms, staff and storage space.
- Write the equipment list. Tables, chairs, clinical cabinetry and any equipment that needs power, data, plumbing or wall support.
- Find the building services. Locate drain and vent connections, the electrical panel and the heating and ventilation before fixing room positions.
- Sketch the routes. Draw the patient route from the door to an exam room and back, and the staff route from the staff room to the clinical rooms. They should cross as little as possible.
- Decide on privacy details. Insulated walls and solid core doors between clinical rooms, screen positions at reception, and a lockable records area.
- Confirm approvals. City permit route, health authority and college requirements, and building rules for coring and work hours.
- Get a fixed-price proposal. A written scope with inclusions, exclusions and allowances, and a schedule built around your patients.
Planning a new clinic or reworking the one you have? Book a discovery call. Tell us about your practice, your rooms and your timeline, and we’ll walk the space and give you a fixed-price proposal with a schedule built around your patients.
Frequently asked questions
What is the best layout for a medical clinic?
Most clinics work best in zones: reception and waiting at the front, exam and treatment rooms along one clinical corridor behind them, and staff, storage and records at the back, off the public route. That keeps the patient route short and lets staff move between rooms without crossing the waiting area.
Does every exam room need a sink?
It depends on your clinic type and your health authority and college requirements. On QUAY’s False Creek health clinic project, Vancouver Coastal Health requirements meant hand sinks in the treatment and recovery rooms, so QUAY added six wall-mount sinks with new drains cored through the concrete slab.
How do you make clinic rooms more private?
Insulate the walls between rooms, use solid core doors, keep consultation rooms away from the waiting area, and position exam tables and reception screens out of public view. At the False Creek clinic, QUAY split one recovery room into three with insulated demising walls and solid core doors.
How long does a medical clinic renovation take?
QUAY’s clinic renovations typically take four to eight weeks of construction once permits are in place and materials are ordered. A smaller scope can be faster: the Fairview chiropractic office refresh took two weeks, and the False Creek clinic tenant improvement took four.
How much does a medical clinic build-out cost in Vancouver?
QUAY’s 2026 planning range is about $180 to $300 per square foot of construction, or about $216,000 to $360,000 for a 1,200 sq ft clinic, excluding design fees, permit fees, medical equipment, furniture, IT, signage and GST.
Planning a Medical Clinic?
Related Posts
Demising Walls: How to Split a Commercial or Warehouse Unit